how to draw 3d letters in 2 point perspective
Date: 30th of March 2020
Est Read Time: ten mins
Do you find 3D lettering tricky and fourth dimension-consuming? In today's tutorial, we hope to modify that perspective. We are sharing the stride-by-pace process nosotros use to warp some awesome patterns effectually the letters to requite a better dimension to the whole slice. Moreover, every bit you know how much we love sharing free resources with you, today's today's tutorial contains 3 free patterns from our latest set The Essential Blueprint Brush Toolkit. A super special set we've created together with the talented designer Candice Baldwin.
Allow'southward draw 3D messages in Procreate using one point perspective with bonus tips and tricks. Allow's swoop in!
TOOLS TO START THIS TUTORIAL
- iPad Pro (You tin employ whatsoever iPad as long as information technology supports the Procreate App)
- Procreate Software
- Apple Pencil (or whatsoever other compatible stylus)
- The Essential Design Brush Toolkit for Procreate
PS. If y'all don't have our latest product "The Essential Blueprint Brush Toolkit for Procreate", try out the Complimentary Sample Set in our Freebie Treasury available for our awesome community newsletter subscribers.
STEP i: Gear up A CANVAS
Permit's begin past creating a canvas with dimensions 30 cm x 22 cm canvas at 350 dpi. We chose this canvas size so considering it covers about of the screen. Also, for this lettering piece, you will require at least 35 layers.

Step 2: CREATE GUIDELINES
- To create guidelines, draw a horizontal line. For this tutorial, we have used a composition line from The Slayout Lettering Masterclass, one of our previous sets which you be constitute in our freebie collection.

- Adjacent, align the line in the center using the transform tool. The composition line called for this tutorial has a characteristic i.e. it has its ain centre which is helpful for the side by side steps. Alternatively, draw a line and find its centre manually.
- Add a vertical line in the center. This provides a amend understanding of where the centre is while you lot depict our letters.
- Pinch together Layer 1 and Layer 2 and lower their opacity.
- Lastly, on a new layer, select a new color and a pencil of your choice. Draw crude circles that will signal where the letters will be positioned. This'll help you understand the space each letter will need.

Footstep 3: SKETCH THE Letters
To brand today'southward lettering practise easier, we'll draw monoline messages using a Monoline Castor from the freebie collection.
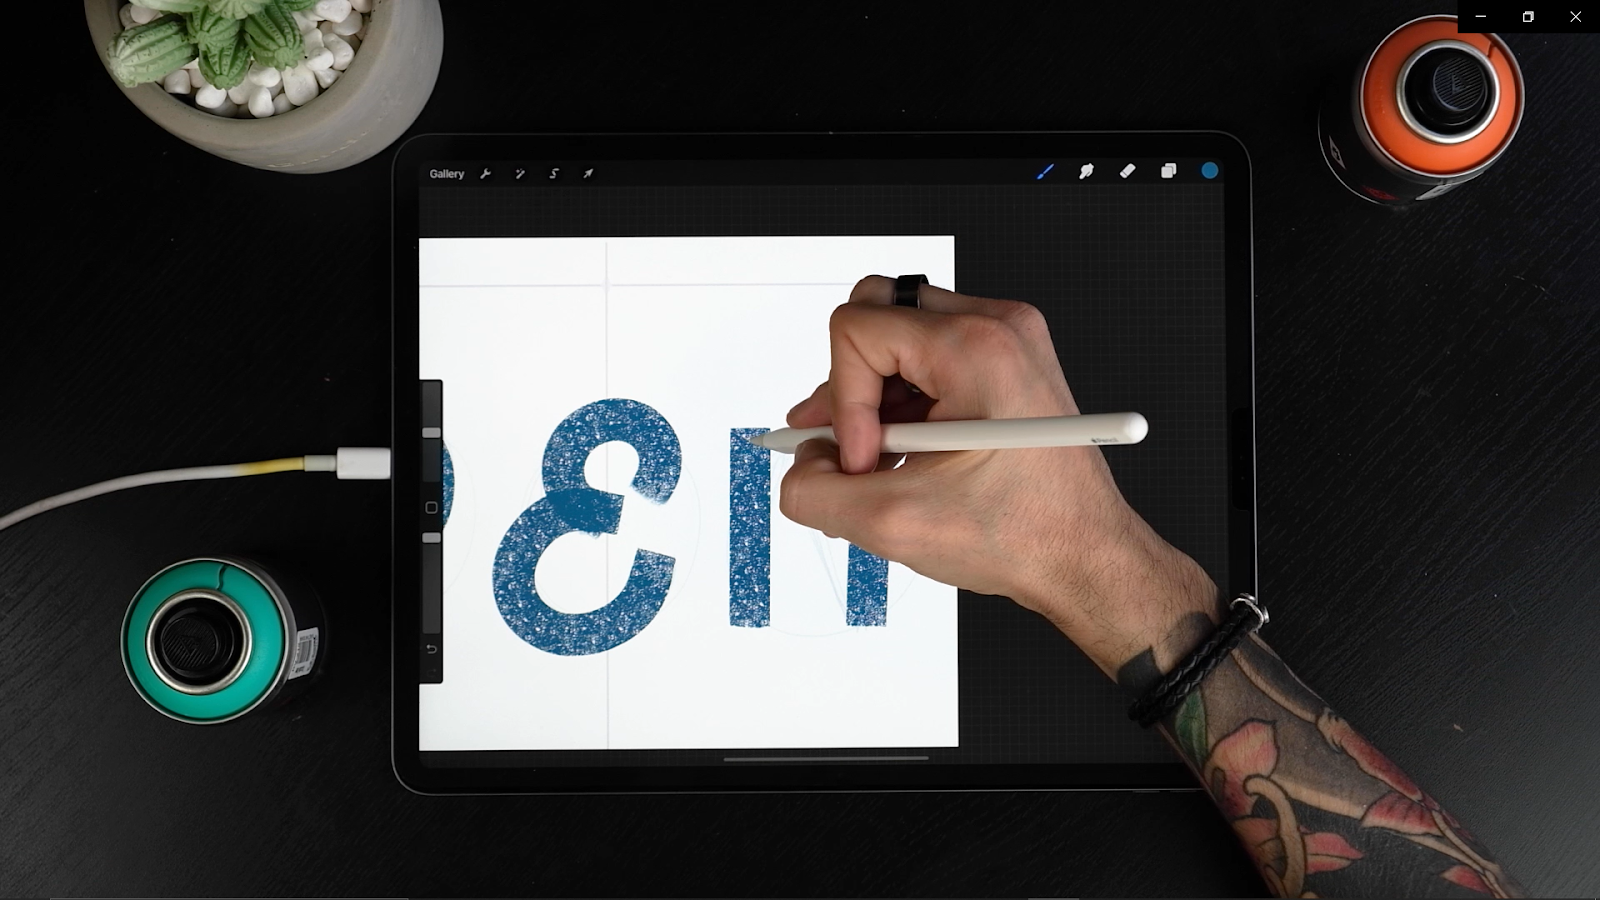
- Sketch the letters, P E Northward.

- Once your pencil sketch is washed, select the Monoline Castor and create single strokes on a new layer. Notice how your messages come to life. Remember that this is just an exercise and you lot shouldn't aim for perfection at this point.

- Bring this layer's opacity down and select a liner. We used a Rippelizer brush from our Slayout Brush Set but you tin can choose the native Calligraphy castor.
- Create a new layer and construct the messages again. At present you tin accost the small details and edits you want to brand to the letters.

- Once the chief letters are done, reposition them past bringing them to the bottom.
Pro Tip: If you don't wanna overwhelm yourself find a three letter of the alphabet give-and-take to follow along the tutorial and once you lot experience more confident, try a longer give-and-take!

STEP 4: CREATE 3D GUIDES
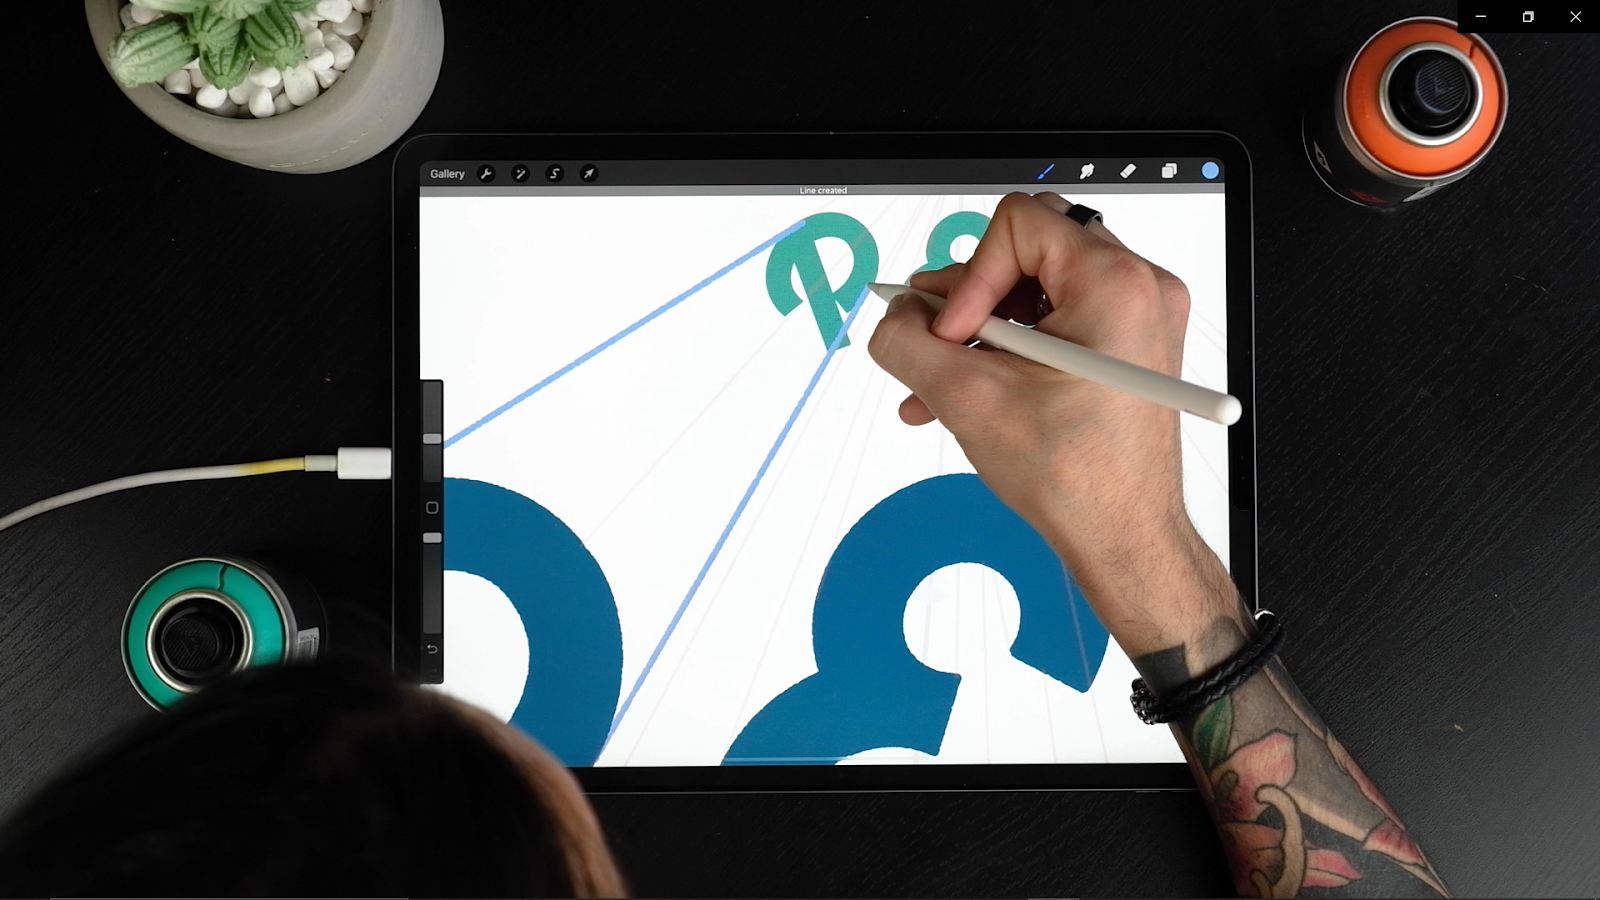
Creating 3D guides volition showcase how the projected messages will wait like.
- Employ the aforementioned liner from the previous, a new color and create a new layer.
- Next, revisit the heart line you drew and draw lines that go from it to each corner of each alphabetic character. This will show the direction of your 3D.

Step 5: CRAFTING EXTRUSIONS
Now you can create 3D walls to your letters.
- Duplicate your messages and make the ones at the bottom smaller.
- Adjacent, move them to the background by post-obit the outer guidelines. The farther you want the project to go, the further apart these ii layers will be.

- At present, let'southward make the dissimilar walls by following the direction of your guideline with the shape of your messages.
- Change the color of the small give-and-take and split up each letter from the primary word as a new layer.

- So, create a new layer under each alphabetic character, choose a unlike color and start making the walls.
- The first wall will be the ones on top and these will cover most of them.

- Continue painting the 3D on the aforementioned layer as long as the different parts don't touch each other.
- Create a new layer under this ane to draw the last wall with a dissimilar color. We're making a new layer simply because we don't want any part to touch with one another. Too, we cull a different color so we tin can differentiate the walls created on dissimilar layers.

- Repeat this process for other letters!
STEP 6: ORGANISE THE LETTERS
- At this stage, slide right the pencil on each letter of the alphabet layer and tap on Group on the superlative right corner.
- Side by side, tap on the group layer just created and change the proper name and so we find things hands afterward on.

STEP 7: Add together Letter OUTLINES
Creating outlines tin can be done in numerous ways. Today's technique is inspired past Max from Lettering Daily.
- Go to one of the letters and duplicate information technology.
- Head to Adjustments, tap on Gaussian Blur and select about 0.5 blur by moving your pencil left and correct.

- Adjacent, choose the selection tool, select Automatic from the bottom menu and tap inside your blurred letter of the alphabet.
- Again, movement right and left until you're satisfied with your selection.

- Head back to your layer's panel and create a new layer.
- Drag a color inside the selection and you'll discover how you've created the inner part of the alphabetic character. The original letter will deed as a alphabetic character outline for now.
- Next, use the eraser tool to get rid of the circled corners or any other parts you don't like.
- Change the color of the original letter into white because this volition act as a letter outline and it should be brighter than the inner function.

- Now create inner walls by duplicating the inner office and scaling it down slightly and moving it into the aforementioned direction as the 3D.
- Elevate a unlike color to see the difference and movement it around. The further you motility it the more dimension your letters volition have!
- Next, go to the Layers console and tap on the newest layer and cull Select.
- Finally, tap on Capsize from the carte at the bottom of the screen, select the inner office's layer, roll three fingers downwards the screen and tap on Duplicate; a new layer appears, get rid of the previous layer and drop a dark color on the new one.


Your inner walls are done!
STEP 8: WARP PATTERNS
Before adding patterns, brand sure all the 3D walls are of the aforementioned color.
- Go to the Castor Library and select a design. You can choose the ones included in the Freebie or if you lot make up one's mind to go the whole pack, The Essential Pattern Brush Toolkit, y'all'll find a total of 110 hand-fatigued patterns and 115 geometric patterns.

- Create a new layer on top of the main 3D wall and tap on the Pick tool. Cull the option "Rectangle" and make a pick as big as the wall you'll add the pattern on. And so, select the pattern yous've chosen and spray inside the pick.

- Next, tap on the Transform tool and rotate your design around so it fits the 3D wall.

- Tap on Distort and align the corners of the pattern to the wall'south shape. Now select "Warp" and perfect the shape so it's aligned perfectly. You lot tin can try the option "Advanced Mesh" to have meliorate control of it at the alignment.

- One time the design fits the shape perfectly, move the layer above the shape, tap on the layer and click on Clipping Mask to make certain naught gets out of the shape.
![]()

- Repeat the same steps for the other walls.
STEP 9: Add SHADOWS
- To add together shadows, kickoff past creating a new Clipping Mask in between the patterns and their walls.
- Select a sprayer. Nosotros've used a Canvass Lite brush from The Ultimate Background Fix simply you can also notice Procreate'south native Soft Castor under the Airbrushing panel.

- Spray on the sides and leave the center of the wall untouched. This will give you depth and volition leave the slice gear up to add some lights.
- At this stage, switch between different modes to see what looks amend. For today's piece, we are using Multiply for shadows and blending the colors perfectly.

- Repeat the shadows on the other walls.
STEP x: Add LIGHTS
- Create new clipping masks on top of your shadows, set them at overlay and spray some lights with a lighter color using the same brush yous used before.
- Use a smaller brush size for the lights to differentiate 1 shadow from another and so spraying the parts where yous didn't include shadows before.

STEP 11: ADD Final TOUCHES
You are almost ready with your awesome slice, allow'south add some last touches.
- Create clipping masks on meridian of each layer yous want to add a pattern on; spray some more than different patterns and play effectually with modes.


- Add some more than lights and shadows on the inner walls.
- Next, add drop shadows in the inner walls past duplicating the layer you want to add the driblet shadow to and dropping a dark color on the layer below.
- Ready the layer to multiply and move information technology following the 3D management. Make sure information technology is a clipping mask and add a Gaussian Blur as you did previously. Here, experience free to play around with unlike modes, we chose "Overlay" at the stop.

- Now, brand a new layer on top of everything and select a Calligraphy Native Castor to add more highlights for final touches to the letter. Too, we changed the Background Color so the highlights look better!

- Add a drib shadow on the letter of the alphabet. Compress all the groups by tapping on the niggling arrow in each grouping. Side by side, deactivate all the layers except the letter yous're working on (including the background) and become to Deportment Copy Sheet. Now scroll three fingers down on your canvas and tap on paste. You'll see the whole letter is pasted in one single layer.
- At present go to Adjustments, Hue Saturation Brightness, and once inside bring the Effulgence downwards to 0.
- Head dorsum to your layers panel, motility the layer below the original letter of the alphabet, activate the rest of the layers and with the transform tool distort the shadow so it follows the management of your perspective.

- Finally, add a Gaussian Mistiness and bring the opacity down for more realism.


And voilà! You lot take got yourself an amazing lettering piece. Creating 3D messages isn't difficult, just follow this tutorial and start with a iii-letter word to begin with, and you will nail it. We are super thrilled to share our newest brushes with you, The Essential Blueprint Castor Toolkit. We have as well used this product in today'due south tutorial. Beautiful patterns tin can make any piece stand up out, from a leaf to a 3D slice. Add some patterns and BAM! you accept a unique design ready. So, we thought why non create some cool patterns that could be your go-to picks for your designs.

THE Terminate!
We really hope you enjoyed this and that you made some cute illustrations. You tin can e'er leave a comment or attain out to us on Instagram @jimbobernaus if yous want to leave feedback or tell u.s.a. if y'all would like to learn something item. Nosotros would love to assist you out!
We wish you a spectacular solar day with a taste of creativity. And at present - letter away!
Join our Newsletter Community, to get access to all of our freebies, including free Procreate Brushes, Textures, Fonts, and other fresh stuff!
Source: https://www.shoutbam.com/blog/how-to-draw-3d-letters-using-one-point-perspective-on-procreate
0 Response to "how to draw 3d letters in 2 point perspective"
Postar um comentário